Friday, 26 April 2013

Grafting an apple rootstock in 8 easy steps


Rootstock - get rid of leaves if any. Grafting should be done in winter but as I grafted at the beginning of April the plants were starting to wake up already. This is an M9 (dwarfing) apple rootstock.

Cut rootstock at an angle. The secateurs must be clean and sharp.

Make a 1cm cut in the middle. Again knife must be clean and very sharp (sorry for the poor quality of the photo)

Scion - this is just a cutting from an apple tree which variety you like, best from last years wood. The scions can be kept in the fridge in a plastic bag with a damp tissue wrapped at the bottom in bunches if they are taken days or weeks before you graft.

Same cut as with the rootstock.

Push the scion into the rootstock trying to match the inner barks (cambium layers). Here's where the magic starts!

Wrap it round for protection from desiccation and excess water favouring mouldy growth.
Don't forget to label it or you won't know what it is until it fruits in a few years!!
...excuse my filthy fingers

And that's it. The newly grafted apple tree has been born. After care - Put the plant in a protected place away from winds and strong sunlight. Rub off buds that may appear below the union. If the thing works successfully you will see some growth from the scion by July at the latest. Happy grafting!

Sunday, 7 April 2013

Bulding a pergola for kiwi and grape vines.

Spirit Level anyone??

Brackets are brilliant Agen! It's gonna look the bollocks!

Tuesday, 4 December 2012

TRANSFORM!


Hi peeps!

Last Thursday we were invited to attend a workshop by Transform. Only David and I could attend it but we are pleased to share our experience.

After the ice-breaking questions and greetings, there was a presentation about Transform, here are the highlights: they've opened 49 sites in the last one and a half year, that's a total of 5,7 hectares of ground and 492 volunteering hours have been used there! It all sounds awesome but for me -you may call me a weirdo- the most amazing number was 1608 reused items!!! I'm talking here about finding a shoe used as a pot for a plant!!! How come we didn't think about that earlier? Well, Gary used some doors to create a square raise bed and we've been using some plastic pots from some coffee shops but SHOES??? Ok, it doesn't mean the 1608 items were shoes but it's all I can think about right now. I'm already thinking about all the stuff I could bring to be reused. What about you guys? Any ideas? 

Once the presentation was over, we were invited to join several "training tables" and David and I decided to split so that we could get as much information as possible so I joined the food growing table where I got an amazing big sowing and harvesting calendar (which I will leave in the garden for all of us to have a look at). We learned a lot of useful tips there thanks to the nice and patient Jack, we were all pretty newbies and he could manage to answer every single silly questions we had. We asked about how to avoid our plants to be eaten by insects and I heard something about pesticides but i didn't pay much attention there cause we ain't killing nothing! but I did pay attention to the advice about having a pond and hope for the best and the insects to be there and leave our babies alone! Also, they suggested we could cover the pots with plastic bottles (more re-using staff ) to prevent them from freezing and he helped us how to face the moment: "How do we organise the raise beds?" It was really interesting. 

David joined a table to talk about where we can find people interested in gardening and volunteering with us. We should start by checking allotment lists, in Tower Hamlets Council, and places like ELBA, Good Gym, Corporate volunteers, Bromley-by-Bow centre, etc. Well, thanks to the ungodly under the rain leaftleting session that Simon and me had to do (no, it wasn't that hard) we got some people interested, let's welcome them and grow! 

From this humble blog and from the rest of the Green Phoenix Gardeners, we'd like to say thanks to Transform, specially Sumi, Jack and Rosie for this session and we hope to see you soon in future workshops! 

Wednesday, 14 November 2012

Permaculturing!

Last Sunday the guys from www.maidenlanece.org popped in the garden and they were helping to build the raised beds. I was a bit (a lot) late and now I regret because after reading a lot of stuff about Permaculture, I wish I had been there on Sunday to ask a lot of things!
family portrait!


I am planning to write something else about Permaculture and what it's all about, but I am still learning about it so what I can say for now is that it's a discipline whose main principles are:
 1) taking care of the Earth
 2) taking care of the people
 and 3) sharing the surplus (don't panic, this means humans have to govern our own nees and set resources aside so that we can further the other two principles). 
I have been doing my homework and reading about this but I am still learning AND I find it quite interesting so I will try to keep up with it and with the help of David and the guys from www.maidenlanece.org I will write more about it :)


Correct me if I am wrong but this on the left would be a good example of Permaculture application, wouldn't it? Instead of using a tap, we are going to use water from the rain as a natural resource. 


For more info about Permaculture you can check http://www.permaculture.co.uk/ or check this project http://www.maidenlanece.org/ or if you see David, he will be very nice and answer any question, if he can answer mine he will answer yours hahaha 


SEE YOU NEXT SUNDAY AT 11 AM!!! AT PRIORY ST! GREEN FINGERS POWER! 

Raised Beds

 
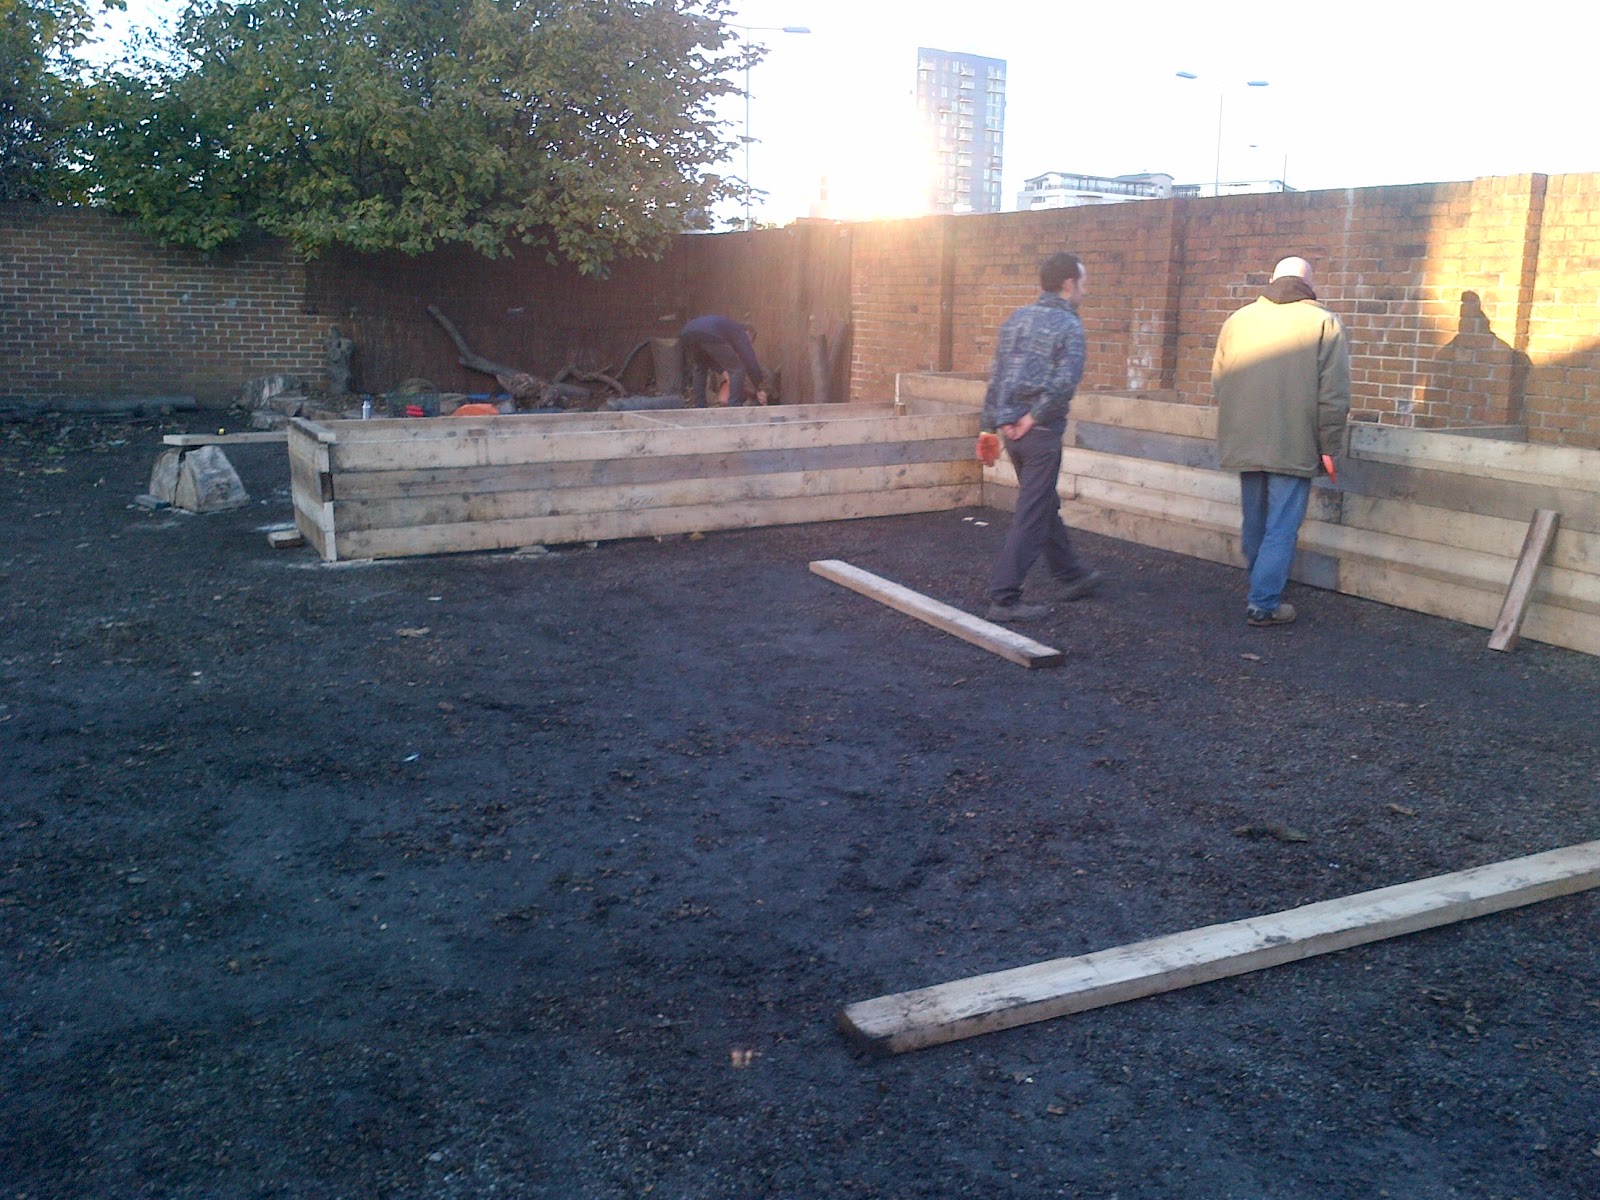
Here you can see the raised beds, the first ones in the garden! It's being a bit of a hard work for David, Gary and Simon so we still ask for help! We meet on Sundays at 11 am but the truth is, David and Gary are always there so give us a call or just pop in! :)
David and Gary on a rainy day working in the raised beds


 I can't help it, I have to show you this pictures of Gary working with the wood, the made a shelf for the plants and, of course, the box! He's the only person I know that puts on the hoodie to pose for a photo. 


Wildlife area improvements!!!

Remember our first steps on how to get a Wildlife area in the garden? Wehave improved it! Check this out! The obvious changes are the wood on the walls that will allow plants to "climb" all over and provide a home for insects, the blue thing is a pond that will be a home for insects as well and as a water source for bees :) The changes you can't see (yet) are the new seeds planted there: Wild Marjoram, Field Poppy, Oxeye Daisy, Red Champion, Selfheal, Wild Carrot, Birdsfoot Trefoil, Cornflower and Wild Red Clover. David chose Snowdrops, Puschkinia libanotica, Iris reticulata and  Fritillaria meleagris (David loves to learn the latin names of the plants) because the are the first ones to bloom in spring or late winter. He promised the Snowdrops will bloom in January, so I'm going to wait for that! 


On the left, the new pond for the wildlife area, you can also see the wood on the walls.
 
David got the seeds through The Friends of the Earth and their  campaign called "The Bee Cause", if anyone would like to get some seeds, check their website: www.foe.co.uk/what_we_do


Plants Update!


And here's the Hamburg Parsley growing up! Slowly but surely! We just hope this amazing British Winter don't kill them. To avoid the tragedy we will have to cover them with something, I am sure David will have an idea...


And here you can see the lettuce plants growing up, quite fast! And, yes Gary, THE BOX!!! Gary made a box with wood and he would like to plant a tree in it, I suggested Lemon Tree, let's see what we will have in there. For now, the lettuce looks amazing on top of the box. 


This thing here is what became a real struggle for me, a kind of surgery work. This is chinese celery or kintsai and I had to split them and replant them. It was hard, I felt pressure everytime I had to separate roots because they were entangled...who said it was easy? 


a


And hereunder you can see the task for next sunday, the pot on the left is the next challenge for me...